This image enhancement removes horizontal or vertical lines from scanned images.
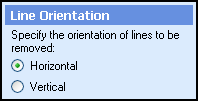
Using Line Removal
Tip: To remove both, add an additional Line Removal enhancement to your scanning session.
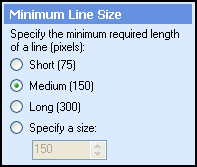
Select Next: Maximum Line Thickness.
Define the ![]() maximum thickness (in pixels) a line can reach and still be removed.
maximum thickness (in pixels) a line can reach and still be removed. ![]() Give me an example.
Give me an example.
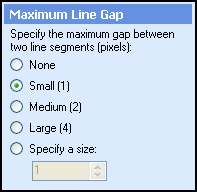
Select Next: Maximum Line Gap.
Specify the ![]() maximum amount of space (in pixels) that can exist between two line
segments. Segments separated by more space than the size specified will not be removed. This option compensates for lines that have been fragmented due to a poor quality image.
maximum amount of space (in pixels) that can exist between two line
segments. Segments separated by more space than the size specified will not be removed. This option compensates for lines that have been fragmented due to a poor quality image.
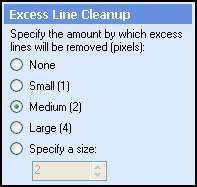
Select Next: Excess Line Cleanup.
The area surrounding a poor quality line often contains stray marks. This option defines a ![]() region (in pixels) around the line from which stray marks will be removed.
region (in pixels) around the line from which stray marks will be removed. ![]() Give me an example.
Give me an example.
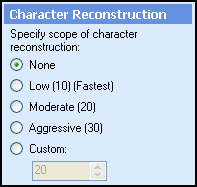
Select Next: Character Reconstruction.
Characters that intersect lines may be damaged during line removal. This option repairs any damaged characters. Specify
the ![]() maximum reconstruction width (in pixels).
maximum reconstruction width (in pixels).
Tip: If damaged characters are not properly repaired after processing, select a higher value. If characters are improperly repaired, select a lower value.
Optional: To preview how this enhancement will affect scanned images, select Test Process.
Tip: For the best results, add a custom sample image before testing.